

 The first day of Hanukkah is here, the day you start lighting the candles of the menorah. So, why not ditch the wax and light the "lights" this year?
(Skip ahead to see the LED menorah)
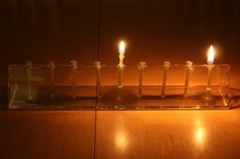
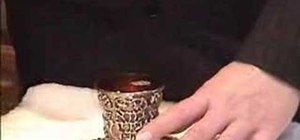
Hanukkah is a Jewish festival that lasts eight days from the 25th day of Kislev, which this year means December 1st, 2010. It's meant to commemorate the rededication of the Temple and is marked by the successive kindling of eight lights. The menorah (also called the chanukkiyah) is the nine-candle sacred candelabrum that Judaists use , and it has eight main candles and one for the shamash (the candle that is used to light all of the other candles).
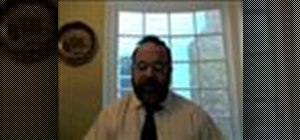
On the first night of Hanukkah, you would light the shamash, holding it in your hand, and say the first prayer, the blessing of the candles:
"Barukh ata adonai eloheinu melekh ha-olam asher kidishanu b'mitzvotav v'tzivanu l'hadlik ner shel Hanukkah."
English Translation: Blessed are You, Lord our God, King of the universe, who has sanctified us by His commandments, and has commanded us to kindle the lights of Hanukkah.
Then, say the second prayer, the blessing for Hanukkah:
"Barukh ata adonai eloheinu melekh ha-olam she'asa nisim la'avoteinu bayamim hahem bazman hazeh."
English Translation: Blessed are you, Lord our God, King of the universe, who wrought miracles for our fathers in days of old, at this season.
Lastly, the third and final prayer for the first day is a blessing to be recited ONLY on the first day of Hanukkah:
 "Barukh ata adonai eloheinu melekh ha-olam she'hekheyanu v'kiyimanu v'higiyanu lazman hazeh."
English Translation: Blessed are You, Lord our God, King of the universe, who has kept us alive, and has preserved us, and enabled us to reach this time.
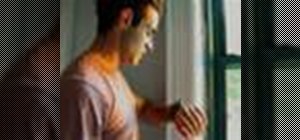
Now, you light the first candle on the far right with the shamash, then put in back in its candle holder. And that's it. You've just finished the first day of Hanukkah 2010! Watch the video below for a complete demonstration of the first day events of this significant Jewish holiday.
Now for the fun stuff...
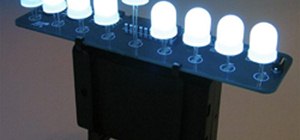
The DIY Miniature LED Menorah
Instead of the traditional lighting of the menorah for Chanukah 2010, try out something a little more up-to-date!

Windell at Evil Mad Scientist writes:
Hanukkah in particular has been a festival of lights for more than a dozen centuries longer than there have been lights on Christmas trees. History notwithstanding, Hanukkah still lags behind Christmas in the transition from traditional light sources like candles towards microcontroller driven arrays of LEDs. While that may be simply due to the relative flammability of dry pine trees versus that of metal menorahs, the irony is that Hanukkah-- unlike Christmas-- actually requires observers to light up specific lights in a specific order, which is exactly the sort of thing that you want a microcontroller for.
If you can't find an open-source LED menorah at your local big box store, just follow their directions below (or at their website), which include source code for the AVR microcontroller (a ATtiny2313 is used here).
What the Mini-LED Menorah Does...
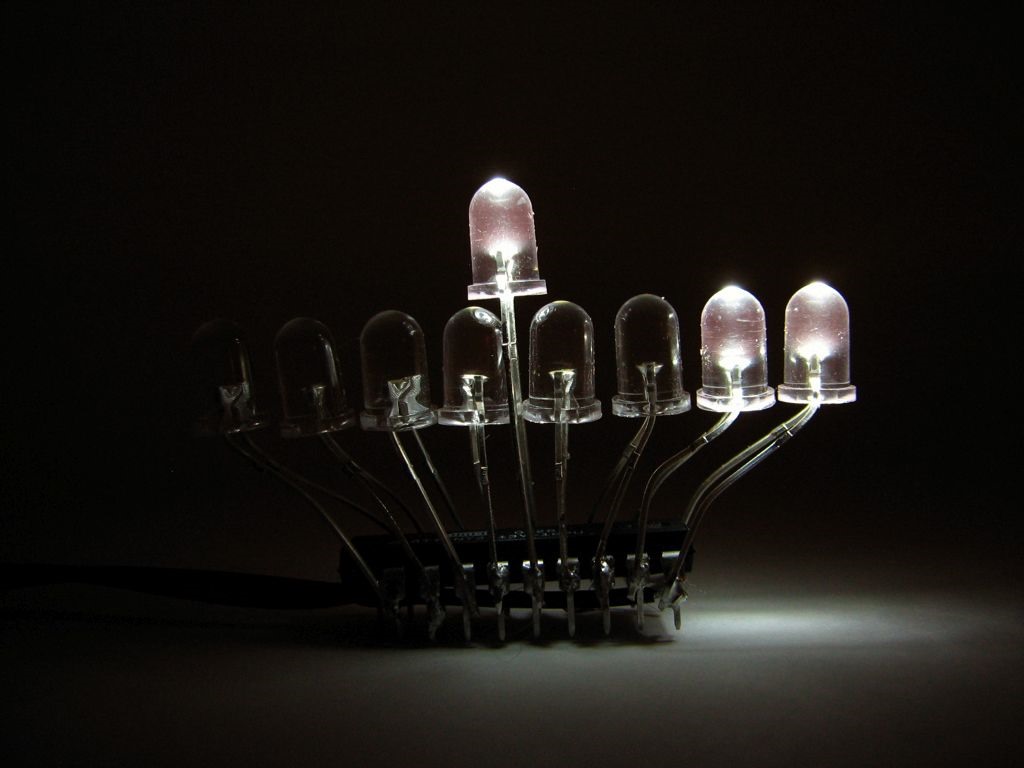
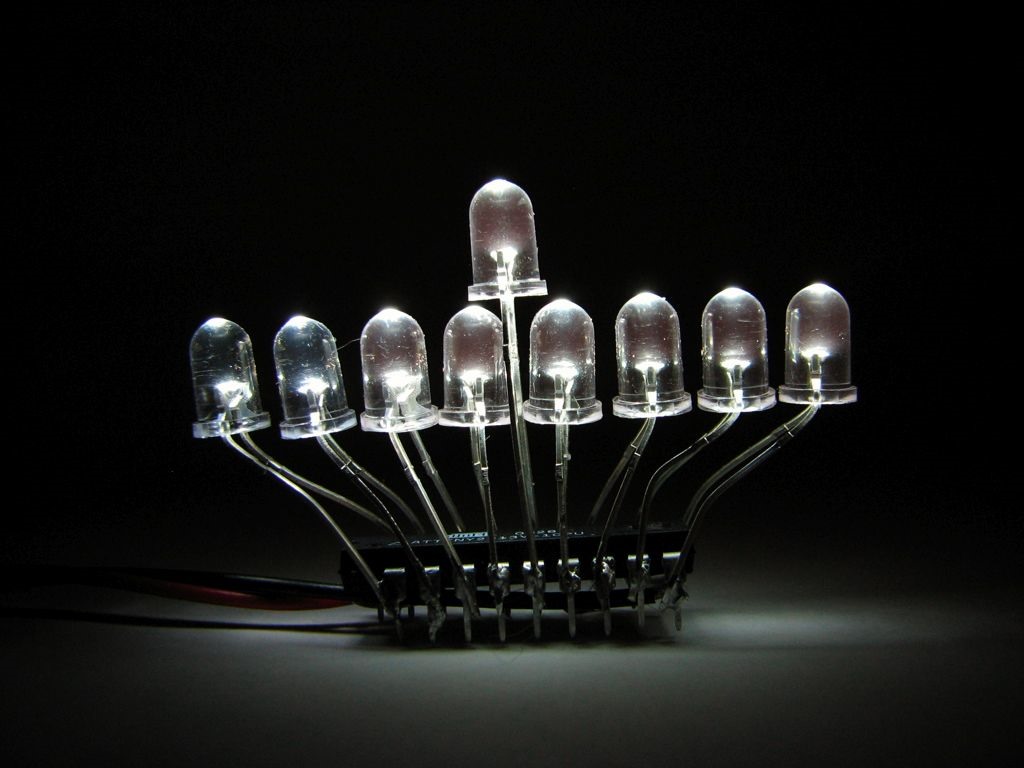
The mini-LED Hanukkah menorah is a modern update of the traditional hanukkiyah, the nine-armed Hanukkah candelabrum, but uses a LOT LESS wax.
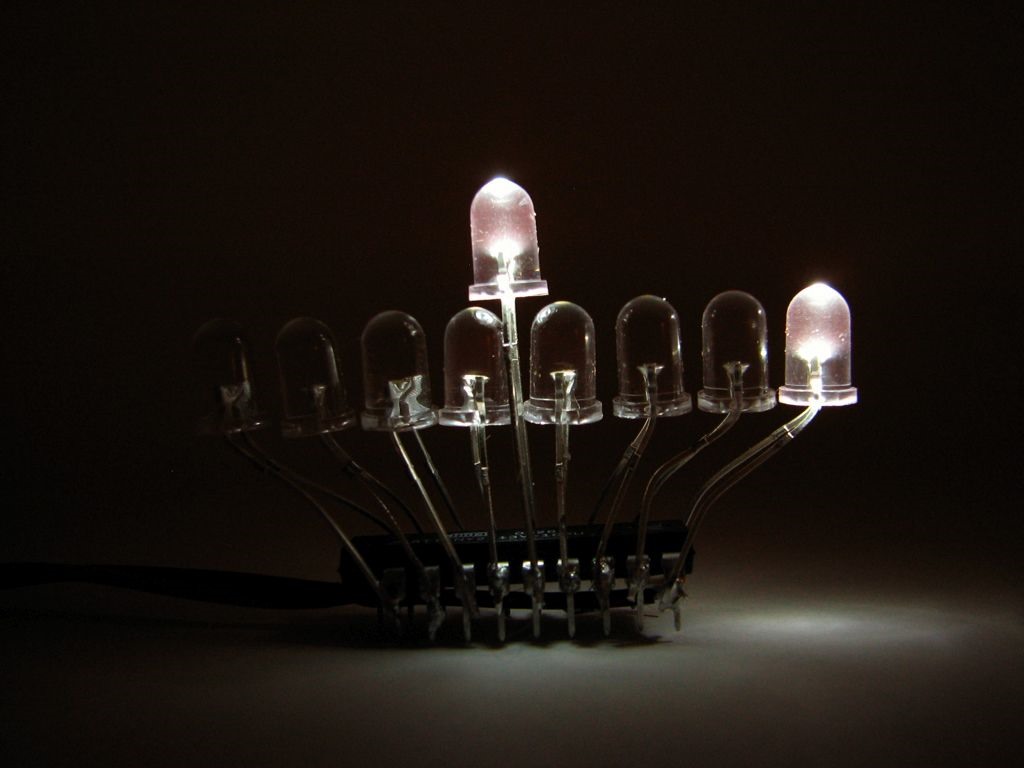
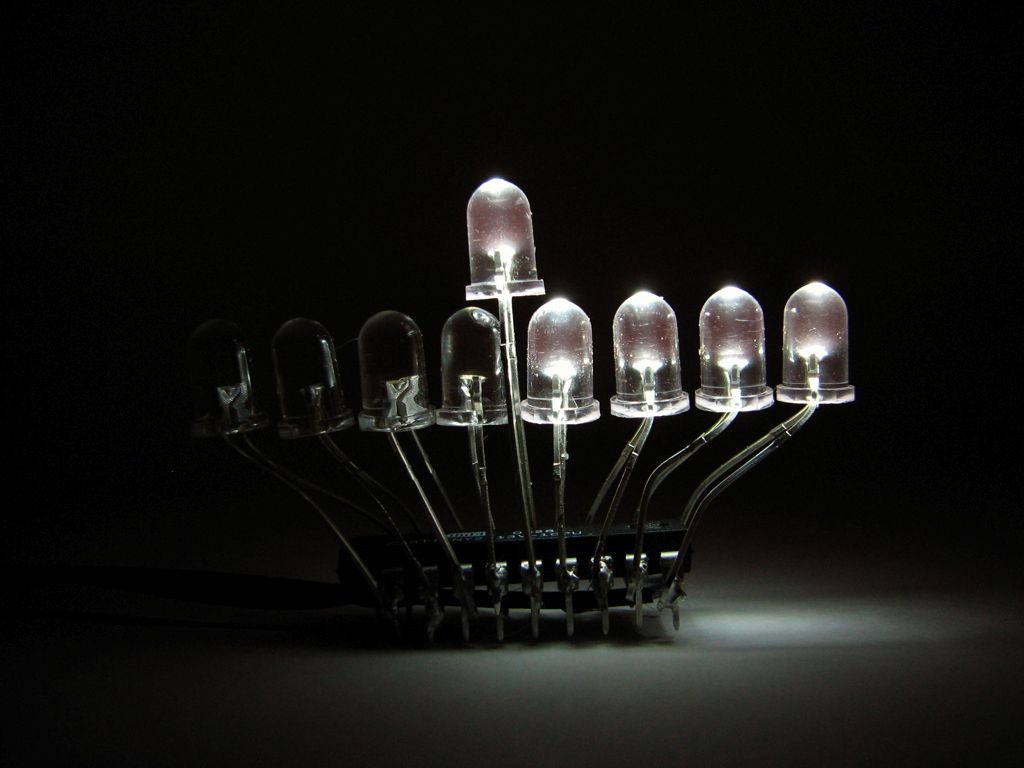
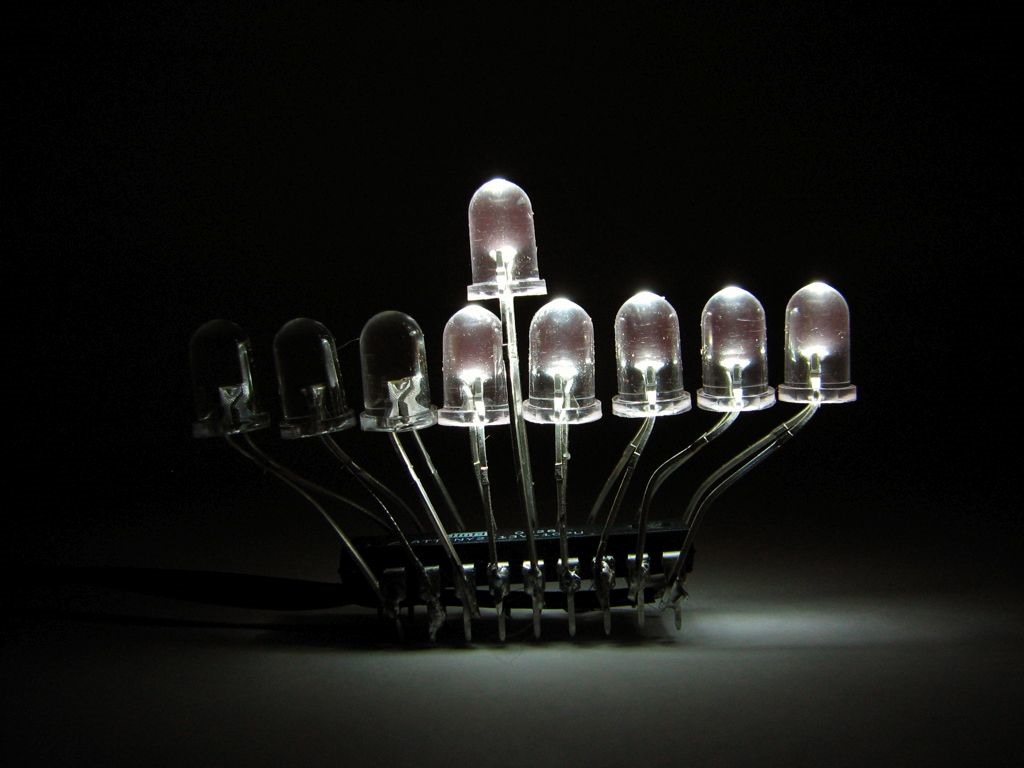
When you turn it on, it steadily (without blinking or animation) displays the correct configuration of LED "candles" for a given night of Hanukkah. Each time that it is switched off and back on, it displays one more light than it did the previous time that you turned it on— unless it showed all nine last time:
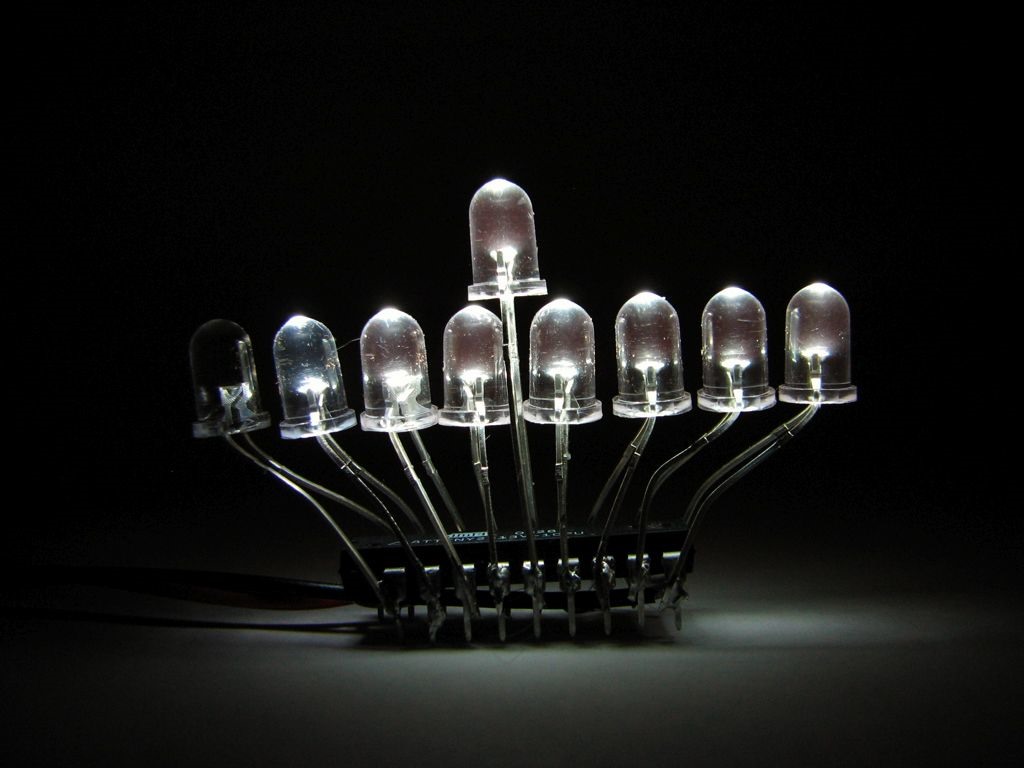
Just in case you do crave animation, there is also a neat demo mode (which comes after the 8th night) that cycles through the different configurations at a rate of one about "day" per second.
How the Mini-LED Menorah Works...
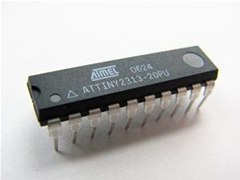 It's based on the Atmel ATtiny2313, a powerful little 8-bit AVR microcontroller. This microcontroller is an inexpensive single-chip computer complete with a clock, 2 kB of flash memory, and 128 bytes each of SRAM and EEPROM memory.
As the chip is configured, 17 of the chip's 20 pins can be used as logical outputs to directly drive LEDs. The remaining three pins are for power (2.7 - 5.5 V DC), ground, and a reset pin reserved for programming use. You can find a diagram of that configuration here on Evil Mad Scientist.
Since the microcontroller is a little computer, it doesn't really do anything without a program. Just write the programs in C, and they do basically what you'd expect: tell the chip when to turn the different lights on and off. There's a little bit of work in building the font table for the ornament, but even that isn't so bad.
One trick used: An integer representing the current message displayed on the ornament (or the day on the menorah) is stored in EEPROM, a type of nonvolatile memory, in order to let the chip change its behavior from the previous time that it was turned on. Once the code was written, we used open source, cross-platform development tools (including avr-gcc and avrdude) to compile the C code into a binary firmware object and program the device through a low-cost USB programmer.
How to Make the Mini-LED Menorah
Step 1 Acquiring the Parts
To begin building, you first need to acquire the components, including a programmed microcontroller. The most important consideration in building this is whether or not you want to program your own microcontroller. If your answer is a resounding "No," don't worry, you can still build it: Evil Mad Scientist has put together some low-cost kits that include pre-programmed microcontrollers. Get one of those, then skip down to "Assembling the Menorah."
Step 2 Programming Your Own Chips
Programming your own microcontrollers is a great idea because it gives you the flexibility to put your own set of phrases in the code for the micro-readerboard ornament. You can also change the display in any number of ways in case you decide to use a different variety of LED display.
If you already have a working setup for programming 20-pin AVR chips, Bob is your uncle. Download the C source code and makefiles for the menorah here.
If you haven't programmed AVRs yet, this is a fine time to start, so here are a couple of pointers about where to start looking. If you have a computer with a parallel port and are running Linux or Windows, you can build your own microcontroller programmer for about $10 and set it up with free software. However, it's better to use a USB ISP programmer like the USBtiny. There are easy single-package installers for the software toolchain available for Windows and Mac, so use those.
Step 3 More Parts
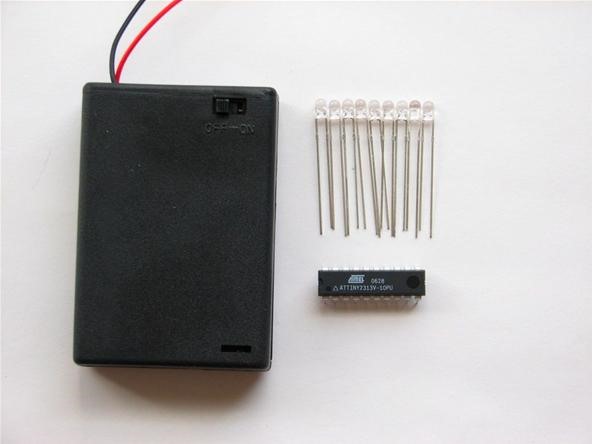
The other components that you need for this project are a battery box (or other voltage source) and the LED displays. Use a 3 x AA box (with switch) for the menorah, and you need nine LEDs. While just about any variety of LED will work, it is somewhat easier to use ones that come in a small diameter (3 mm) package.
Step 4 Assembling the Menorah
To assemble one of the menorahs, put together a little kit containing the battery box, nine LEDs, and the programmed microcontroller. Once you've got your kit collected you might prefer to follow along with Evil Mad Scientist's Printable Menorah Instructions (400KB PDF).
Step 5 Begin Soldering
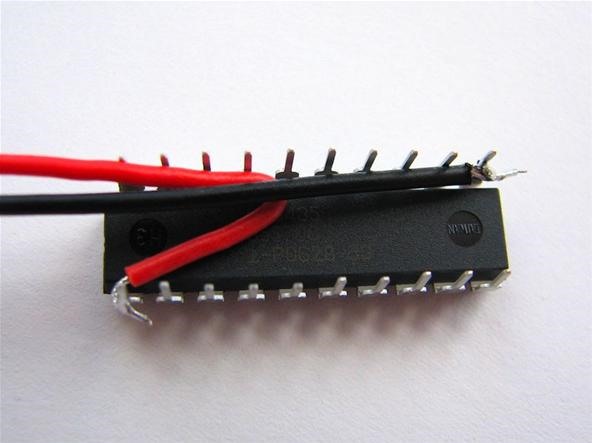
Begin by soldering the red wire from the battery box to pin 20 of the chip (+Vcc) and the black wire to pin 10 (GND).
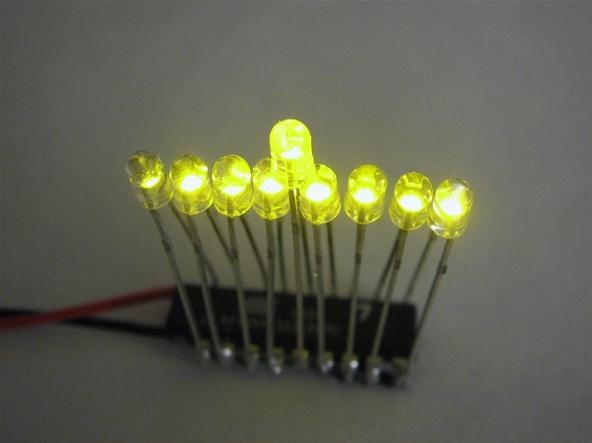
Step 6 Connect the Cathodes of the 9 LEDs
The cathodes of the nine LEDs on the menorah will connect to pins 2-10, and the anodes connect to the pins directly opposite them: pins 11-19 (there's a circuit diagram on Evil Mad Scientist's Reference Page).
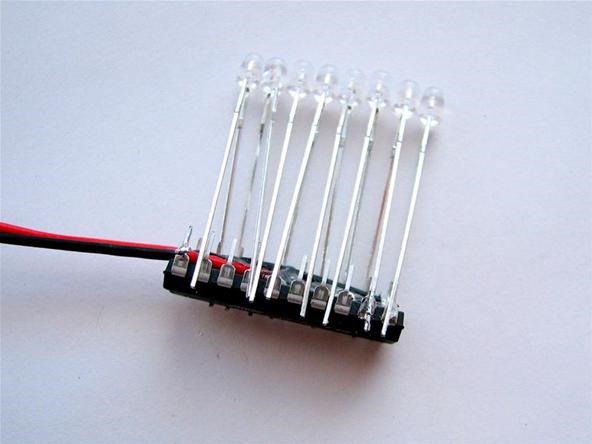
The LEDs that are shown here are small (3 mm) types. It may take more effort to bend the leads into place if you use larger diameter LEDs like the white ones that used for some of LED menorahs.
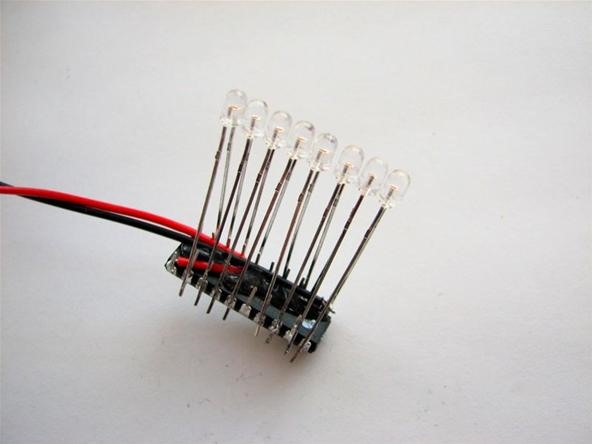
Begin by connecting the cathodes of the eight lower LEDs, to pins 2-5 and 7-10. Once that's done, flip it around and solder the anode of each LED to the pin directly across from where the cathode is soldered; pins 11-14 and 16-19.
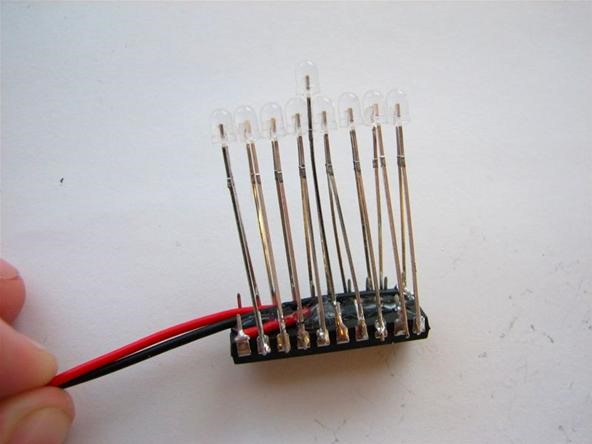
Step 7 Finish It Up
Now there's only one more LED to solder: Connect the anode to pin 15, and cathode to pin 6. It's nice to put it at a slightly different elevation than the others, so that you can tell them apart even when the power is off. Trim away excess leads and wire to complete the menorah.
Need help? Leave your questions over in the Support Area @ Evil Mad Scientist Laboratories. Also, check out their video on Flickr for a demonstration of some of their pre-made LED menorahs.
To get all of the information about this DIY mini-LED Menorah for Hanukkah 2010:
Happy Hanukkah!
Just updated your iPhone? You'll find new emoji, enhanced security, podcast transcripts, Apple Cash virtual numbers, and other useful features. There are even new additions hidden within Safari. Find out what's new and changed on your iPhone with the iOS 17.4 update.


Be the First to Comment
Share Your Thoughts